How I keep my personal information secure while travelling
Something I’m conscious of when working from the road, particularly when connecting to open wifi networks in cafes or co-working spaces is keeping my personal information secure. Given I rely on my Mac to make a living, I’m also keenly aware of the need to maintain a comprehensive backup strategy so that in the event my Mac is lost, stolen or suffers a failure of some kind I can get back up running quickly on a new machine. These are some of the steps I take to prevent unauthorised access to my accounts and ensure I’m always able to access a full backup of my data if disaster strikes.
Use a Password Manager
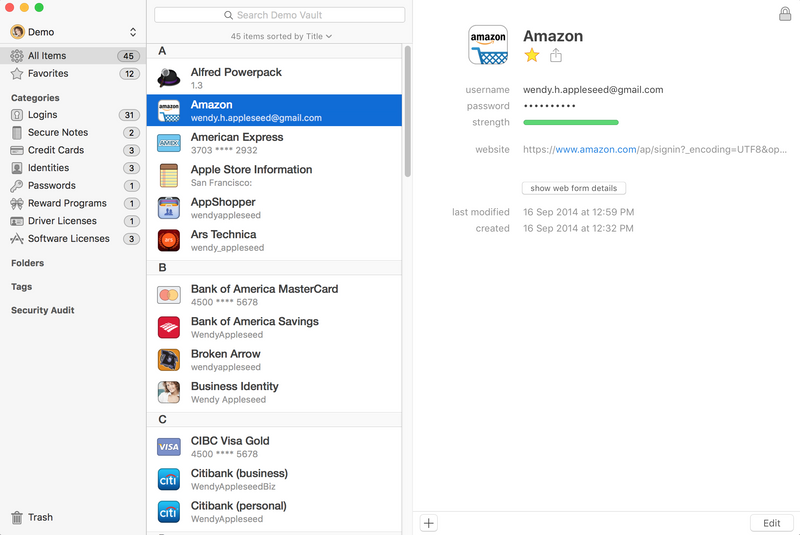
The number one step I take to keep my personal information secure is using a password manager, which allows me to generate a random, secure password for each online service I use. The concept behind using a password manager is that you set a secure password for the password manager app itself (which is the only password you need to remember) and then use the app to generate a random, secure password for for each account you add.
I use 1Password which is quite slick and has great iOS and Mac apps but the Mac app is a little pricey at $65US (the iOS app is free but for $10US you can upgrade and activate some ‘Pro’ features). For me it’s really great value given it’s something I use multiple times every day.
If $65US for the desktop app is too much to swallow there are alternatives such as LastPass (free, $12US per year for advanced features such as desktop to mobile sync) and Dashlane (free, $40US for advanced features). I’ve not used either of these but have been tempted to give Dashlane a try as the UI looks great. I guess I’ve been so satisfied with 1Password that I haven’t felt the need to seriously explore other options.
Use Two-Factor Authentication (2FA)
2FA is another layer of protection against unauthorised access to your accounts. The broad concept is that when you have 2FA enabled for a service, in order to access your account you need the password (something you know) and a 2FA token (something you have). Most common web services (including Gmail, Wordpress, Facebook and GitHub) support 2FA but you need to explicitly enable it.
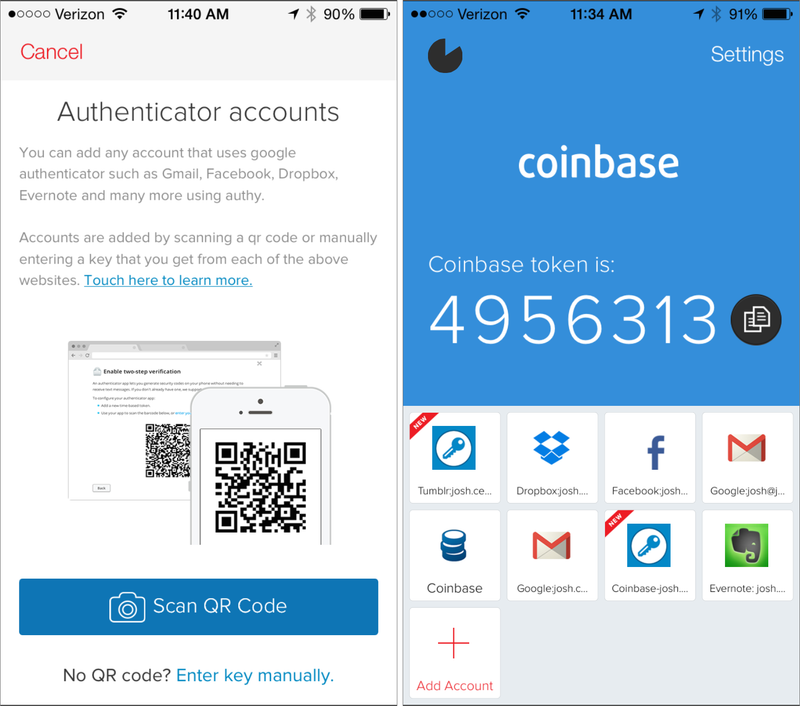
In most cases, the service will require you to use a standalone app (like Google Authenticator or Authy) which you install on your device to generate 2FA tokens. Each token is typically only valid for 60 seconds so even if someone managed to peer over your shoulder when you were generating a token they would have at most 60 seconds to use this to login (and even then, only if they also knew your password). Some other services don’t support 2FA apps and instead require you to provide your mobile phone number, to which a token is sent via SMS when you attempt to login. This is obviously not ideal as if you’re moving around regularly you need to keep updating your account details to reflect whichever local SIM card you happen to be using.
Some password managers have support for generating 2FA tokens built-in but I prefer to use a separate app. My rationale is that if someone did manage to access my Mac or iPhone and was able to unlock my password manager, they’d have unfettered access to all of my accounts as they’d be able to read my passwords AND generate 2FA tokens. It’s for this reason that I use Authy.
The great thing about Authy is that it syncs across all of your devices so you can add an account for a new service to one device (say a new Gmail account) and this will be synced to all of your other devices so you can generate tokens on your iPhone, iPad or Mac.
Use a VPN
Using a VPN (Virtual Private Network) to secure your web traffic is just as important as using a password manager to keep your online accounts locked down, particularly when you consider how often you connect to open wifi networks when travelling. The simplest explanation as to how a VPN works is that when you use a VPN, all of the traffic between your machine and the VPN server you connect to is encrypted. Without this layer of security, anyone else connected to the same wifi network can potentially intercept your traffic and capture personal info like passwords, email addresses or financial information. Of course the trade-off here is that you need to trust your VPN provider not to do the same.
There are loads of different VPN providers out there but the one I’ve used for the last couple of years is Private Internet Access ($40US/year). It’s not the cheapest (if you’re really budget conscious you can get a VPN account for only a couple of dollars a month) but I’ve always been sceptical about the really cheap services and how it’s possible for them to provide a secure, reliable service at an extremely low price. PIA is fairly universally well-regarded, and they have iOS and Mac apps which make it easy to connect (and reconnect) automatically if you want to set them up that way.
I use the PIA app on my iPhone but Viscosity on my Mac rather than the PIA Mac app as I find using Viscosity a better experience and the auto-connect/reconnect functionality seems a bit more robust.
If you’re technically-inclined there’s a great spreadsheet that’s been put together by That One Privacy Guy to compare the features of various VPN providers.
Make Regular Backups
This isn’t strictly related to information security but it’s another essential in my opinion, particularly if you rely on your Mac to make a living. With my backup strategy, if the worst happens and my Mac is lost, stolen or otherwise unusable I could buy a new machine and be back up and running with all of my data in a matter of hours.
My backup strategy comprises two components:
- Regularly-scheduled local backups using Carbon Copy Cloner ($40US)
- Continuous offsite backups using Backblaze ($5US/month)
Local backups with Carbon Copy Cloner
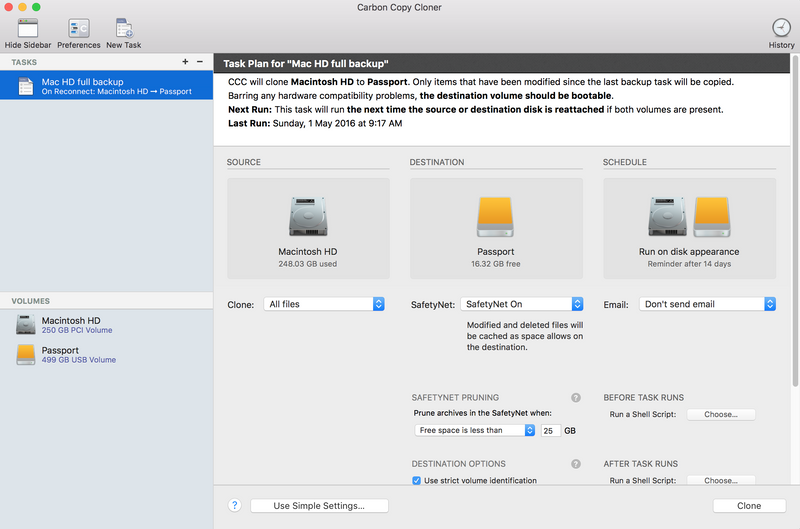
Making regular local backups (on an external drive) is the first step in ensuring you can get back up and running with all your data in the event of disaster. I’ve been using Carbon Copy Cloner to do this for a few years now and can definitely recommend it.
CCC makes bootable backups of your Mac so in the event your internal drive fails, you can boot from your external drive and regain access to your data quickly. A cool feature of CCC is that you can set it to prompt you to make a backup if it’s been more than a user-specified number of days since the last backup; I’ve got it set to prompt me after 14 days.
Offsite backups with Backblaze
Regularly backing up to a local external drive is great, but this won’t help you if your hotel room is broken into and both your Mac and external drive are stolen. This is where keeping offsite backups is important.
I’ve used Backblaze as my offsite backup provider for the last couple of years and can’t fault it. The Backblaze app runs in the background and continually backs up your machine automatically so you’ve always got a complete set of your files stored safely offsite.
The great thing about Backblaze is that you can order an external drive containing all of your data (up to 4TB) to be shipped to you pretty much anywhere in the world for $189US (and you get to keep the drive). This is a great feature to help you get back up and running quickly in the event that restoring from your local backup isn’t an option and you need your data urgently.
Wrap Up
This is only a brief overview of the strategies I use keep my information secure while working from the road, but hopefully you found it useful. Feel free to reach out to me on Twitter with any questions or comments.
Banner image: https://www.perspecsys.com/